
There are some things in life that can get taken away from us as we get older, and hanging is one of them!
As you age, your upper back and shoulders can start to become really stiff especially if you aren’t putting your arms above your head regularly. When you’re too old to be in the playground, things like climbing and hanging can become things of the past… then we all wonder why our shoulders and necks feel so grumpy all the time.
Through hanging you can:
- Increase your grip strength
- Improve your shoulder flexibility
- Reduce pain
- Stretch your upper body
- Decompress your spine
- Improve your posture
It is so beneficial for you that it just makes sense to start adding it into your routine! Don’t let the thought ‘I could never do that’ hold you back though, follow these steps to get started!
How To Build Up Hanging from A Beginner Level
1. Hang with your Feet on the Ground
Set yourself up so your feet touch the floor, either by lowering your bar/rings/TRX, or if that’s not possible put a bench/step/stool etc. under yourself.
Even if you don’t have the grip strength to hold yourself yet, you can build up time & strength in the position. Over time you can reduce the weight in your feet until you’re just on your tippy toes!
When you can hold yourself supported for around 30 seconds, you can start playing with lifting your feet off the ground and build up 5-10 seconds unsupported hangs!
2. Don’t Go to Failure
When building up your hang, focus on good solid holds that don’t leave you clinging by your fingertips and blowing your beans on the first set!
Start small with a duration you know you can achieve. For example:
– Start with 3 sets of 10 seconds (either feet-supported or unsupported), totalling 30 seconds hanging
– As this gets easier, add 5 seconds to some or all your sets!
You can keep adding seconds to your holds, and you can add extra sets too. But keep within your limits, and only test to failure every few weeks to check your progress!
It might take a few goes to figure out what works best for you, if you need longer rests initially that’s ok! Your strength & endurance will improve with practice!
Also, don’t freak out if you get bad days where you can barely hold on – that’s normal, shake it off and come back to it another day.
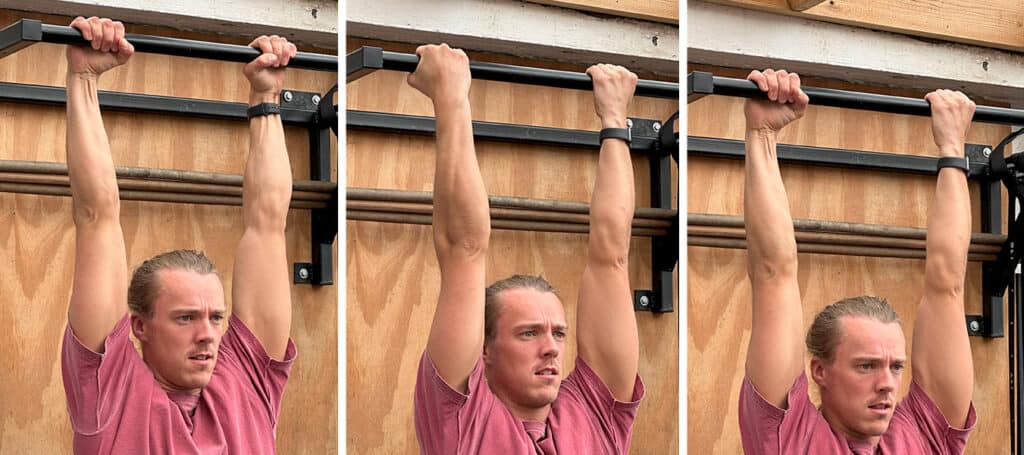
3. Try Different Grips
The standard hanging grip is palms facing away from you (pronated) with your thumbs wrapped around the bar, closing your fists tight (without nipping any skin on your fingers or palms).
You can also hang with your palms towards you (supinated) or try a mix: “over-under grip”. It’s good to play with a combo of all of them as they’re all beneficial in different ways and the variety is better for your shoulders and elbows!
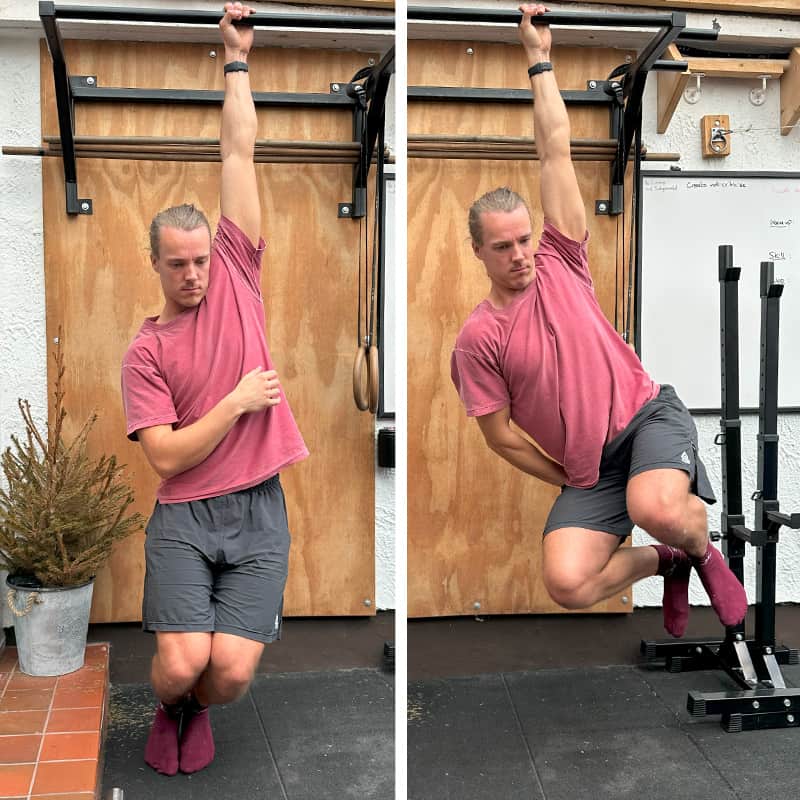
4. Start Working on the Single Arm Hang
Even though you’re still building up your double arm hang, there’s no reason you can’t work on a single arm hang too! This helps keep your shoulders balanced and makes sure one side isn’t doing more of the work than the other.
Use your feet to support you, start in a double hang position then slowly let go with one hand. Making sure you’re able to put as much weight in your feet as you need!
Once you’re comfortable, try a bit of movement! Rotate from the shoulder and change your body position, stretching new areas and giving you more complete shoulder mobility.
Use the exact same progressions as before with gradually increasing how long you can hold per arm and reducing how much weights in your legs. A single arm hang on each arm for 30 seconds is a super-duper goal which is fun to work towards long term (I’m talking like a year) think about the monkey bar potential you have then!
How Long Should You Hang For?
There’s no right or wrong time to hang for, any time hanging is awesome!! But here’s a few guideline goals you can aim for:
Foundation: 60s feet-supported double-arm hang
Level 1: 30s unsupported double-arm hang
Level 2: 30s unsupported double-arm hang + 5 second single arm hang per side
Level 3: 45s double-arm hang + 10 second single arm hang per side
Level 4: 60s double-arm hang + 15s single arm hang per side
Level 5: 2 minute double-arm hang + 30s single arm hang per side
To help build up these holds, you can add in little exercises while you are there to build even more strength, such as:
– Active and passive hangs
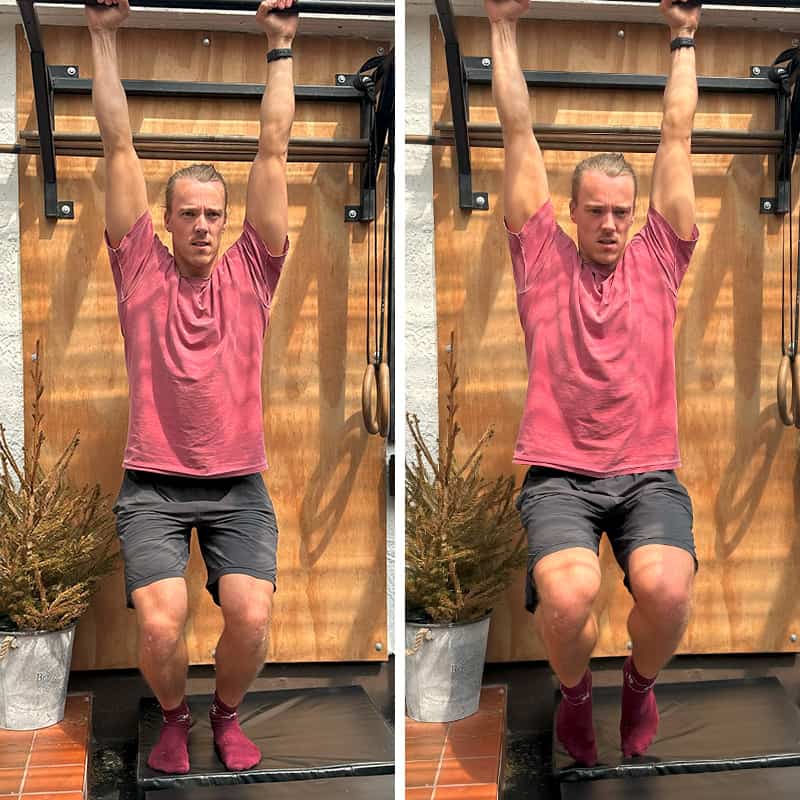
– Knee Raises
– Twists
– Swaying
– Grip switches
How Often Should You Hang?
In an ideal world, everyday!
In the real world though you might not have anything you can hang from at home, so make the most of anytime you’re in a gym and use hanging as part of your warm ups and/or cool downs.
You could use active/ passive hangs & rotations in the warm up, and sways & twists in the cool down.
The main thing is to keep it simple. To get better at hanging it’s really just about doing it as often as you can, slowly building up your endurance over time!
Once you have the *ahem* hang of the hang you can totally progress this into pull ups which is such a beneficial skill to develop for healthy shoulders. Jenni has a great video for your first pull up on our YouTube channel:
Strong grip and healthy shoulders should be part of everyone’s goals really and hanging is a great way to get multiple benefits which carry over to so many other things.